We will show you how to turn the 5 microservices demo into a production-ready setup. You will learn the role of each service, frontend, queue, worker, database, and results. You will deploy and harden the system on a multi-node Docker Swarm cluster that runs in two German data centres on the Hetzner backbone. You will see how decoupling and overlay networking create a stable architecture.
The application uses several technologies. C# .Net, Python, JavaScript, HTML, Postgres, and Redis.
The application repo: https://github.com/dockersamples/example-voting-appThe Application's Architecture: A Journey of a Single Vote
There are 5 main services that make up our application, and each one runs in its own container. This separation of concerns is important for making apps that can grow and stay stable.Layer 1: The Presentation Layer (The vote App)
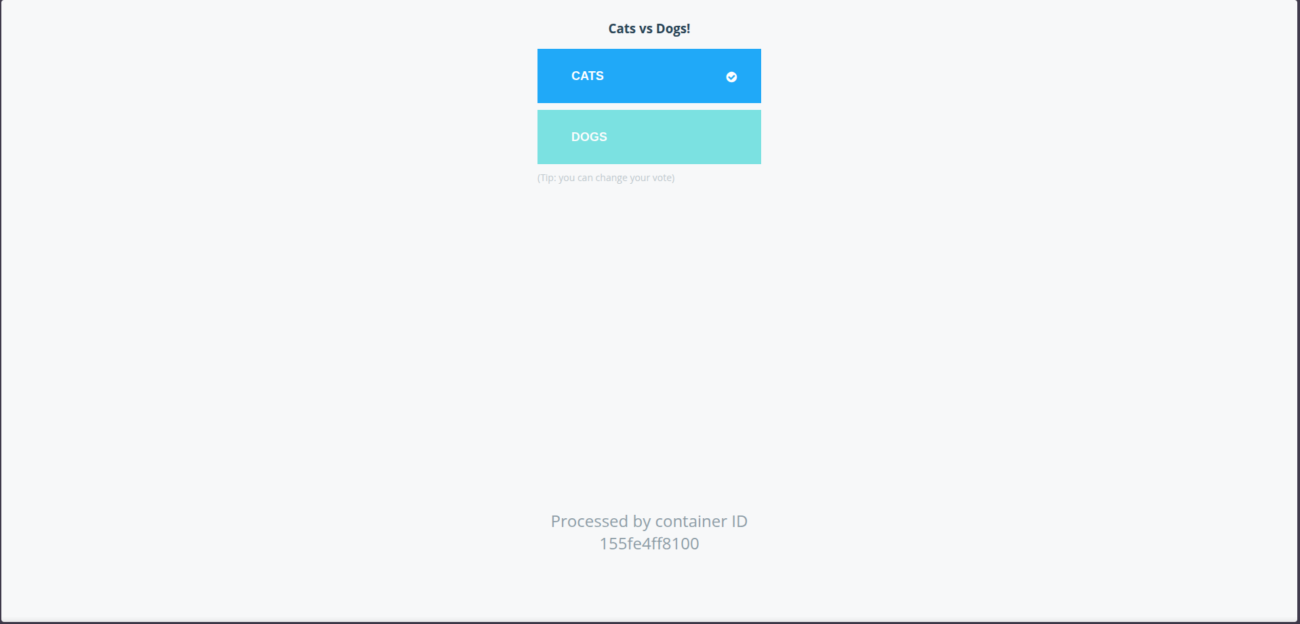
Technology: Python with the Flask web framework. Role: This is the primary user-facing entry point. When you navigate to the application's address, this is the service that answers. You might be asking yourself, "How can Python be a frontend?" I thought that was for JavaScript, CSS, and HTML. That's a very good point. You can't run Python in your web browser. Instead, it runs on the server to make the page that your browser shows. This is known as Server-Side Rendering. Here’s how it works:- A user's browser sends a request to the server for the voting page.
- The request is routed to our Python container.
- The Python/Flask application receives the request, takes a pre-written HTML template, and dynamically generates a complete HTML document.
- This final HTML is sent back to the user's browser, which then renders the voting page you see on your screen.
Layer 2: The Queuing Layer (The redis Queue)
Technology: Redis. Role: A high-speed message broker. You could think of Redis as the app's post office. The Python frontend puts a "vote" message in the Redis queue. It has finished its work. This is a very important idea known as decoupling. The frontend doesn't need to know or wait for the vote to be counted and saved. It just needs to know that it was passed on successfully. This makes the voting app quick and easy to use. If the backend services were ever slow or down for a short time, the votes would just wait in queue to be processed.Layer 3: The Processing Layer (The worker)
Technology: .NET (written in C#). Role: The backend engine that does the heavy lifting. This service runs in the background and doesn't have a user interface. The only thing it does is watch the Redis queue. When a new vote comes in, the .NET worker picks it up, processes it, and gets it ready to be stored. It's the important link that sends data from the temporary queue to the permanent database.Layer 4: The Persistence Layer (The postgres Database)
Technology: PostgreSQL. Role: The application's permanent memory. This is the official record-keeping system. The .NET worker connects to the PostgreSQL database and tells it to save the vote. This is where all the voting data ends up. We make sure our data is safe and stays there even if the container needs to be restarted by using a Docker volume for the database.Layer 5: The Results Layer (The result App)
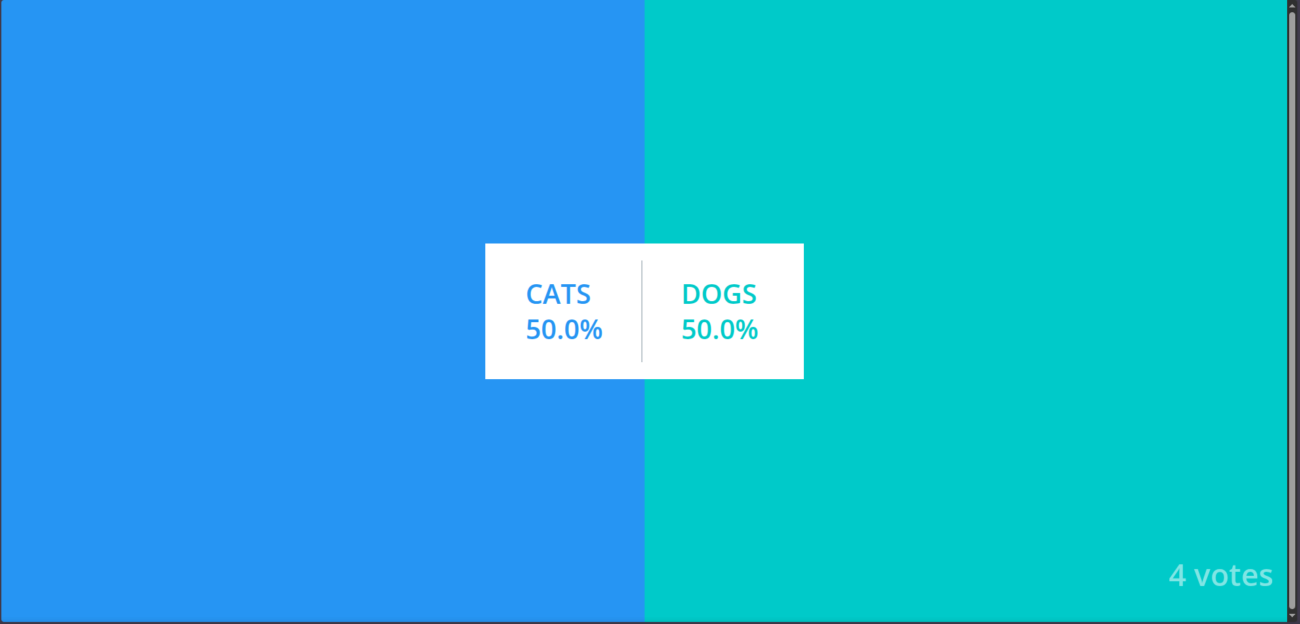
Technology: Node.js with the Express web framework. Role: The real-time results dashboard. This is the second part of our app that users can see. This Node.js service is also a server-side renderer, just like the Python app. The Node.js server asks the PostgreSQL database for the most recent vote totals when you go to the results page. Then it makes an HTML page with these results and sends it to your browser, where you can see the results live. Putting It All Together: The Complete Flow So, the full journey of a vote looks like this:User's Browser → Python Web Server (Vote) → Redis Queue → .NET Worker → PostgreSQL Database ← Node.js Web Server (Result) ← User's Browser
The Blueprint for a Resilient Deployment
We need a good plan to deploy our application now that we know what it is. We want the application to be highly available, which means it should stay online even if one of our servers goes down. We'll do this with Docker Swarm, a powerful container orchestrator that will be set up on 3 Hetzner servers in 2 different German cities through Hetzner data centres.Core Concept: What is Docker Swarm?
Docker Swarm is Docker's built-in way to control a group of Docker engines, which we call a "swarm." It lets us use many servers as one big resource pool. We don't tell Docker to run a container on a certain server. Instead, we just tell the swarm, "I want to run five copies of my web server." The manager nodes of the swarm then automatically spread those containers, which are called tasks, across the worker nodes that are available to meet our needs. The swarm manager automatically moves the containers that were running on a server that goes down to healthy nodes, making sure that the application heals itself. This is what orchestration is all about.Our Hetzner Server & Swarm Blueprint
To achieve true high availability for both our application and the swarm itself, we will configure our three servers as follows: Servers names and network:server-fsn-1 (Location: Falkenstein)
server-fsn-2 (Location: Falkenstein)
server-nbg-1 (Location: Nuremberg)
Using a cloud-init script to automatically prepare our servers for cluster deployment
Before creating the cluster, add the following#cloud-config file to the “cloud-config” text area on each server.
#cloud-config
package_update: true
package_upgrade: true

packages:
  - ca-certificates
  - curl
  - gnupg

runcmd:
  - [ bash, -lc, 'export DEBIAN_FRONTEND=noninteractive' ]
  - [ bash, -lc, 'command -v systemd-resolve >/dev/null 2>&1 && systemd-analyze verify >/dev/null 2>&1 || true' ]
  - [ bash, -lc, 'command -v systemctl >/dev/null 2>&1 && systemctl is-system-running --wait >/dev/null 2>&1 || true' ]
  - [ bash, -lc, 'command -v systemd-resolved >/dev/null 2>&1 && systemctl restart systemd-resolved || true' ]
  - [ bash, -lc, 'command -v networkctl >/dev/null 2>&1 && networkctl wait-online --any --timeout=30 || true' ]
  - [ bash, -lc, 'install -m 0755 -d /etc/apt/keyrings' ]
  - [ bash, -lc, 'curl -fsSL https://download.docker.com/linux/ubuntu/gpg -o /etc/apt/keyrings/docker.asc' ]
  - [ bash, -lc, 'chmod a+r /etc/apt/keyrings/docker.asc' ]
  - [ bash, -lc, 'ARCH=$(dpkg --print-architecture); CODENAME=$(. /etc/os-release && echo $VERSION_CODENAME); echo "deb [arch=$ARCH signed-by=/etc/apt/keyrings/docker.asc] https://download.docker.com/linux/ubuntu $CODENAME stable" > /etc/apt/sources.list.d/docker.list' ]
  - [ bash, -lc, 'apt-get remove -y docker.io docker-doc docker-compose podman-docker containerd runc || true' ]
  - [ bash, -lc, 'for i in {1..5}; do apt-get update && break; sleep 5; done' ]
  - [ bash, -lc, 'for i in {1..5}; do apt-get install -y --no-install-recommends docker-ce docker-ce-cli containerd.io docker-buildx-plugin docker-compose-plugin && break; sleep 5; done' ]
  - [ bash, -lc, 'systemctl enable --now docker' ]
  - [ bash, -lc, 'docker --version || true' ]
Putting our cluster into action
Step 1: Creating the cluster
In theserver-fsn-1 run the following:
docker swarm init --advertise-addr <server_private_ip>
docker swarm join-token manager
docker swarm join --token SWMTKN-1-3kj1eafv85czbp47uil049btrvdhw1ci4qyuew4gvns98mjogo-8sjn8wmq8mocoqlir8lj4byi7 10.0.0.2:2377
docker node ls
ID                            HOSTNAME       STATUS    AVAILABILITY   MANAGER STATUS   ENGINE VERSION
2eotcer64zzslix30o8ha8neh *   server-fsn-1   Ready     Active         Leader           29.0.0
7vhfx4rmu4di35oyvfaqbbboy     server-fsn-2   Ready     Active         Reachable        29.0.0
3xr3clt5s1l6ijk6vmmc02b85     server-nbg-1   Ready     Active         Reachable        29.0.0
docker node update --label-add location=fsn server-fsn-1
docker node update --label-add location=fsn server-fsn-2
docker node update --label-add location=nbg server-nbg-1
Step 2: Cloning the Docker stack file
Go to the Docker stack file on the following link and copy it: https://github.com/dockersamples/example-voting-app/blob/main/docker-stack.yml We don’t need to clone the entire repository — the complete codebase is already packaged inside the container images and will be automatically pulled from the Docker registry during deployment. In the leader nodeserver-fsn-1:
mkdir /voting-app
cd /voting-app
nano docker-stack.yml
version: "3.9"

services:

  redis:
    image: redis:alpine
    networks:
      - frontend

  db:
    image: postgres:15-alpine
    environment:
      POSTGRES_USER: "postgres"
      POSTGRES_PASSWORD: "postgres"
    volumes:
      - db-data:/var/lib/postgresql/data
    networks:
      - backend

  vote:
    image: dockersamples/examplevotingapp_vote
    ports:
      - 8080:80
    networks:
      - frontend
    deploy:
      replicas: 2

  result:
    image: dockersamples/examplevotingapp_result
    ports:
      - 8081:80
    networks:
      - backend

  worker:
    image: dockersamples/examplevotingapp_worker
    networks:
      - frontend
      - backend
    deploy:
      replicas: 2

networks:
  frontend:
  backend:

volumes:
  db-data:
- Redis as the queue — backed by
redis:alpineand isolated on the web side vianetworks: [frontend]underservices.redis. - Postgres as durable storage — defined by
image: postgres:15-alpine, credentials viaenvironment: { POSTGRES_USER, POSTGRES_PASSWORD }, persistence viavolumes: - db-data:/var/lib/postgresql/data, and isolation onnetworks: [backend]underservices.db. - Vote (frontend) scaled and exposed — image
dockersamples/examplevotingapp_vote, public access viaports: ["8080:80"], isolated onnetworks: [frontend], and HA viadeploy: { replicas: 2 }underservices.vote. - Worker as the bridge — connects tiers with
networks: [frontend, backend], processes pipeline viaimage: dockersamples/examplevotingapp_worker, and resiliency viadeploy: { replicas: 2 }underservices.worker. - Result (dashboard) reading from DB — image
dockersamples/examplevotingapp_result, exposed viaports: ["8081:80"], and confined to the data side withnetworks: [backend]underservices.result. - Network segmentation / least privilege — declared once under
networks: { frontend: {}, backend: {} }and referenced per service to enforce traffic boundaries. - Stateful volume —
volumes: { db-data: {} }declared globally and mounted only byservices.dbto retain data across restarts. - Swarm orchestration & service discovery — the presence of
deploy.replicas(Swarm-only) plus service-name DNS on shared networks (e.g.,db,redis) enables auto rescheduling, load-spread, and name-based lookups when usingdocker stack deploy.
Step 3: Deploying the app on the cluster
docker stack deploy -c docker-stack.yml voteapp
docker stack services voteapp
docker service ls
docker service ps voteapp_vote
http://<any_swarm_ip>:8080   # vote

http://<any_swarm_ip>:8081   # result
Conclusion
This setup gives you real operational power. You ship updates without downtime. You scale the parts that need it. You recover from node failures on your own terms. These are core capabilities in any modern digital strategy.
Docker Swarm lets a small team reach enterprise availability and steady performance. Your infrastructure stops being a bottleneck and becomes a growth asset.
This architecture is more than a group of containers. It is a way to design modular services, run them across regions, and ship new changes without friction. Each service, network, and manager node supports one idea. Keep things simple, independent, and resilient. That is why teams that care about results stay with containerisation.